


Iconoclasm is the culminating mission of Destiny 2: The Final Shape, a game where players battle through various challenges to confront The Witness. As the final stand, Iconoclasm is both thrilling and demanding, requiring skill, strategy, and perseverance. This guide provides detailed steps to completing this epic mission.
© FNEWS.AI – Images created and owned by Fnews.AI, any use beyond the permitted scope requires written consent from Fnews.AI
Step 1: Breaking Through the Darkness. After launching the Iconoclasm mission, your first task is to follow the objective markers as enemies begin to spawn. This initial phase is deceptively easy, but don’t hold back—use all your weapons and abilities. After defeating a significant number of foes, a Tormentor will enter the fray. Dispatch this enemy to progress further. As you move ahead, open the Prismatic Chest along the way before encountering an area where The Witness’s influence starts to damage you. Here, shoot the floating red orbs to obtain the Shielded from Darkness buff, which allows you to safely continue to the next section.
Step 2: Conquering Eshkin’Tuk Witness’s Blessed. Once you enter the next room, you’ll face a swarm of enemies, including Bound foes. Use your Prismatic Energy to quickly eliminate them. After clearing the room, you must shoot two objects—first a darkness lock and then a red orb—to gain the required buffs. Drop to the floor below using a gap and defeat two large enemies to collect their Glyphs. Return to the upper floor and activate these Glyphs on specific platforms, summoning Eshkin’Tuk Witness’s Blessed. This mini-boss, along with all remaining enemies, must be vanquished using your skills and buffs before you can move on.
© FNEWS.AI – Images created and owned by Fnews.AI, any use beyond the permitted scope requires written consent from Fnews.AI
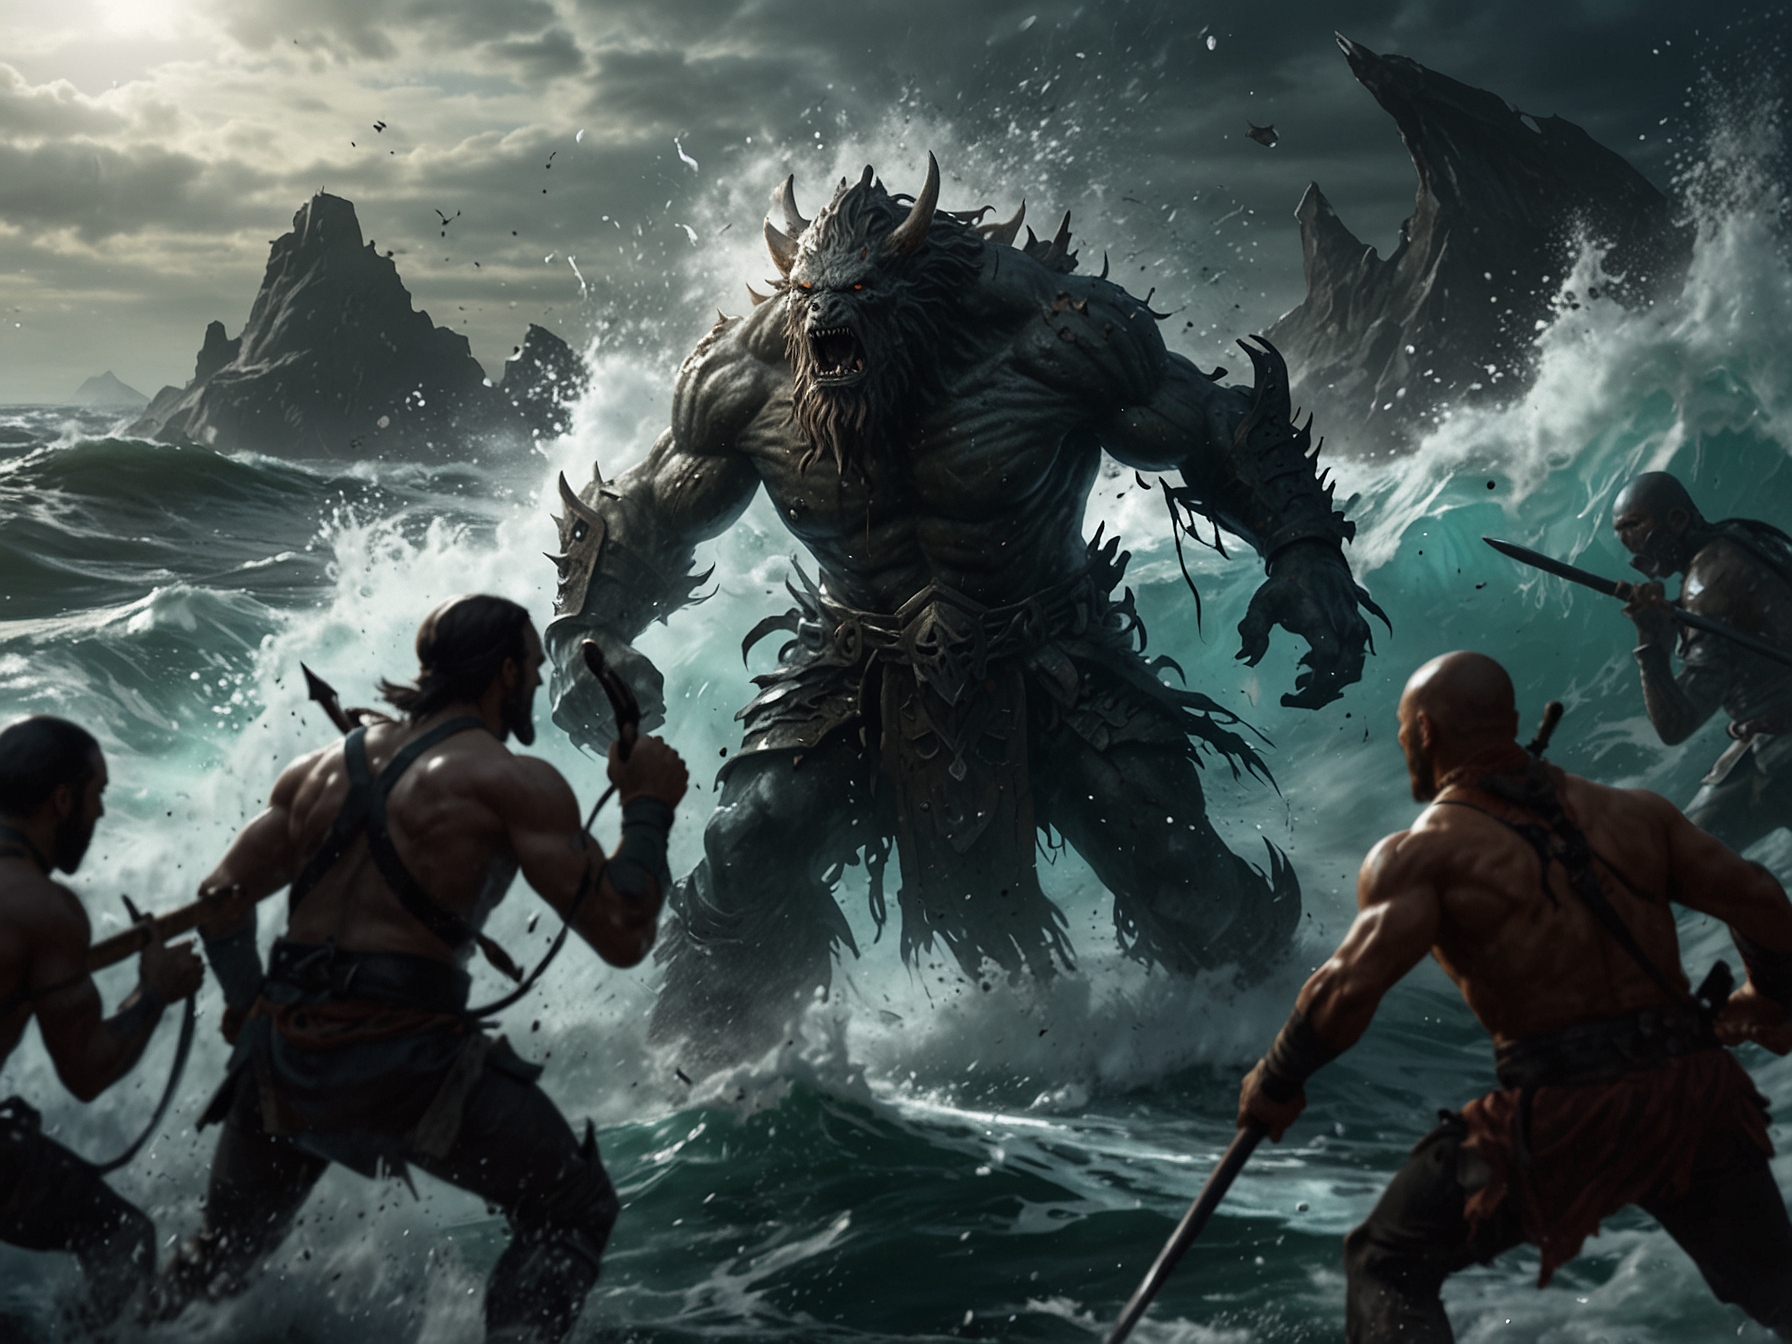
Step 3: Tracking Down and Defeating Dolgith, Blade of Reasoning. This step involves platforming and exploring the darkness-infused Pale Heart. Smaller skirmishes punctuate this exploration. Once you reach a vast arena, Dolgith, Blade of Reasoning, will appear with numerous enemies. Prioritize eliminating all smaller enemies and Taken Blights before dealing with the massive Taken Ogre. Use buffs obtained from shooting darkness locks and red orbs, and utilize portals to navigate between the arena and an ominous underground area populated with Taken Knights. After defeating the Knights and acquiring their Glyphs, activate corresponding Glyphs in the arena to summon a Relic, allowing you to lower Dolgith’s shield and attack. Repeat this process for the battle’s second phase to finally defeat Dolgith.
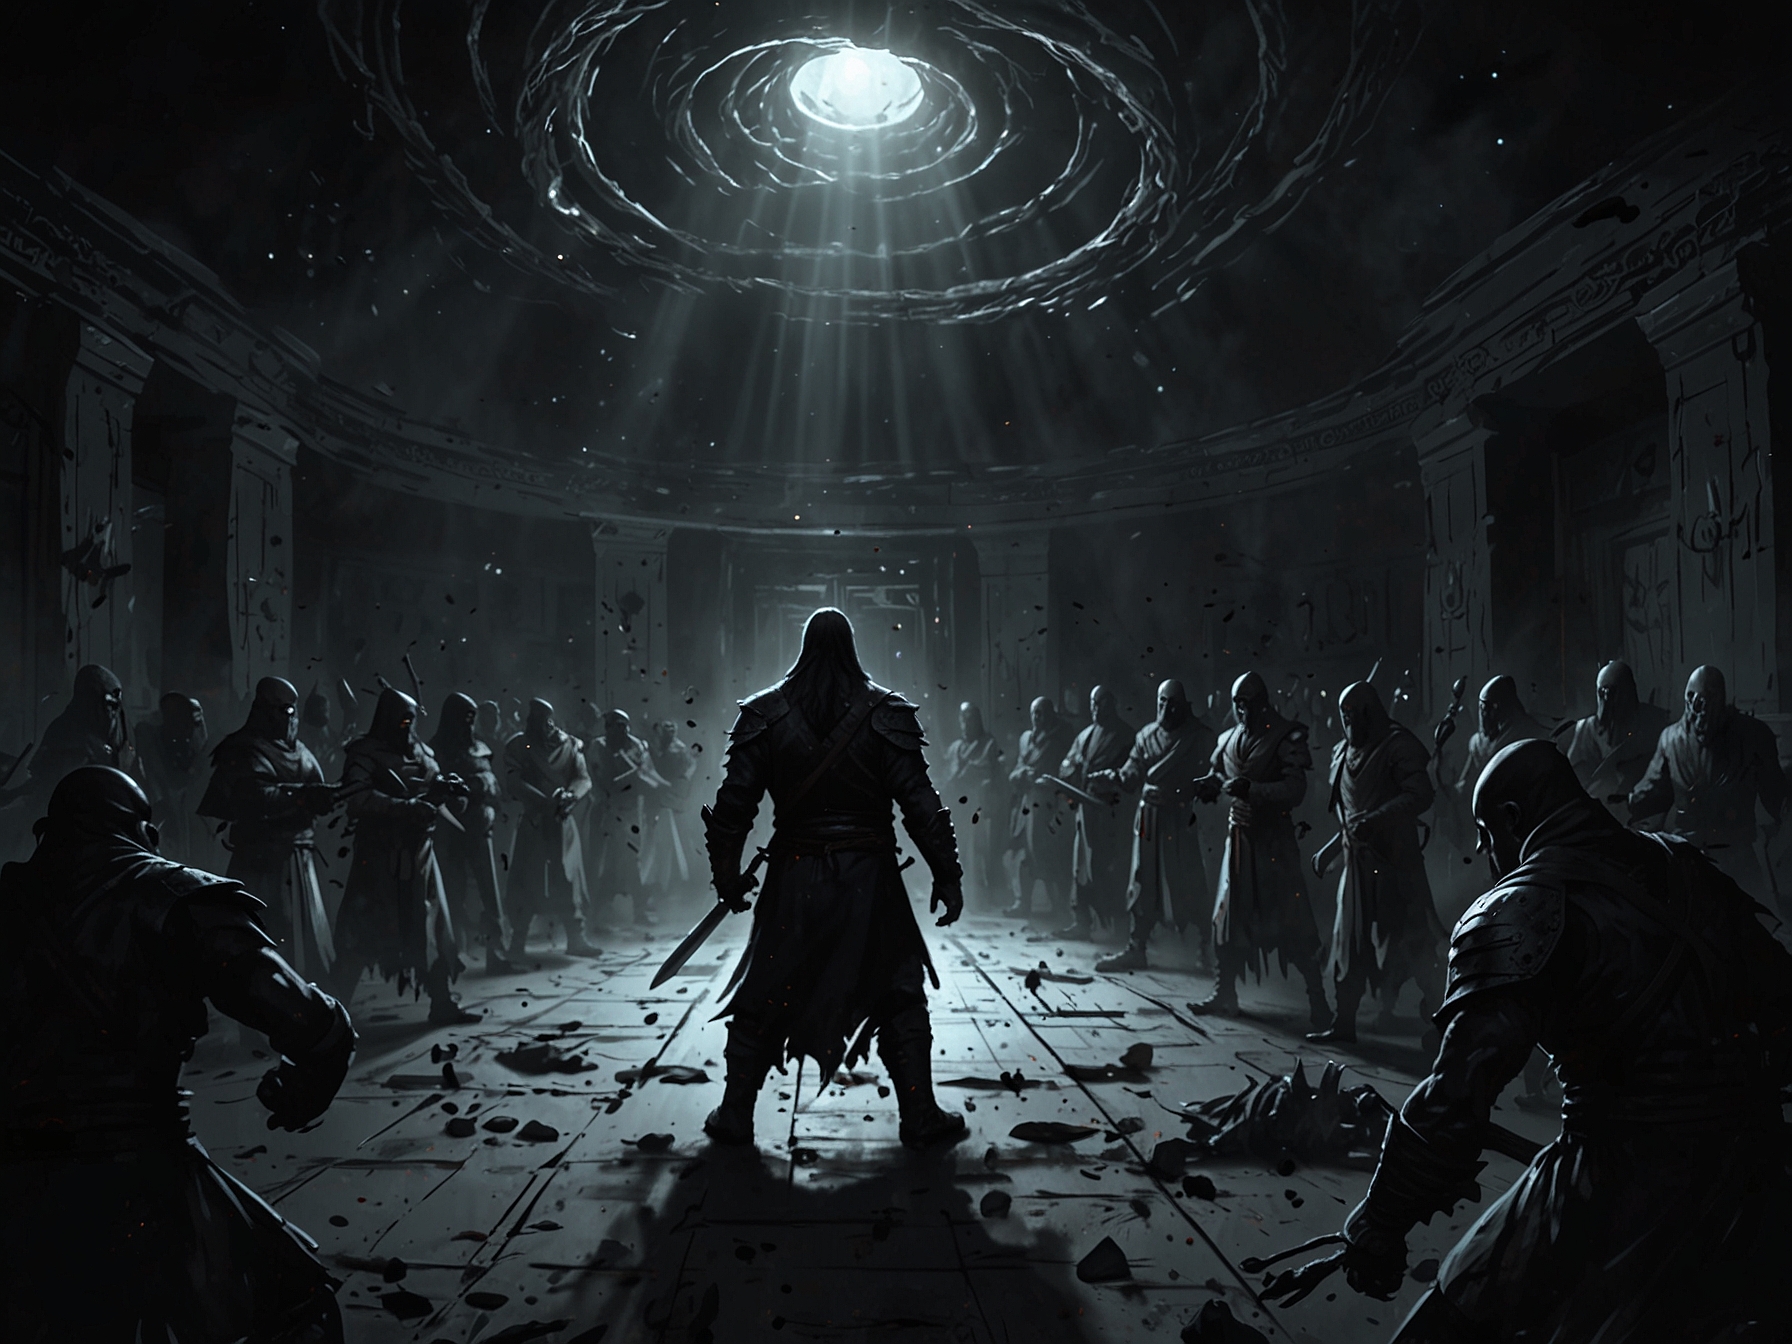
Step 4: The Showdown with The Witness. The final rooms lead you to The Witness. This encounter isn’t a typical boss fight but instead involves battling summoned enemies while evading attacks from The Witness. Use cover and maintain distance. When a shielded enemy spawns, use a Relic to destroy its shield and kill it. Keep the Relic handy to survive an imminent storm by activating its shield over a Light energy crack on the floor. After the storm, a sword appears; use it to attack a Darkness lock, transporting you to an area with veiled statues. Destroy these statues while fending off enemies.
After completing these tasks, you’ll find yourself in a corridor with low health. Use a Relic for protection while advancing through enemy-infested areas. The Traveler will intermittently recharge you, facilitating your progress until you reach the end of the mission. This arduous battle signifies a partial victory, showcasing that The Witness can be hurt and setting the stage for subsequent confrontations in Salvation’s Edge and Excision.
With patience and strategic execution, you can emerge victorious. Equip your best gear, stay focused, and enjoy the culmination of Destiny 2: The Final Shape. Good luck, Guardians!
Was this content helpful to you?

