


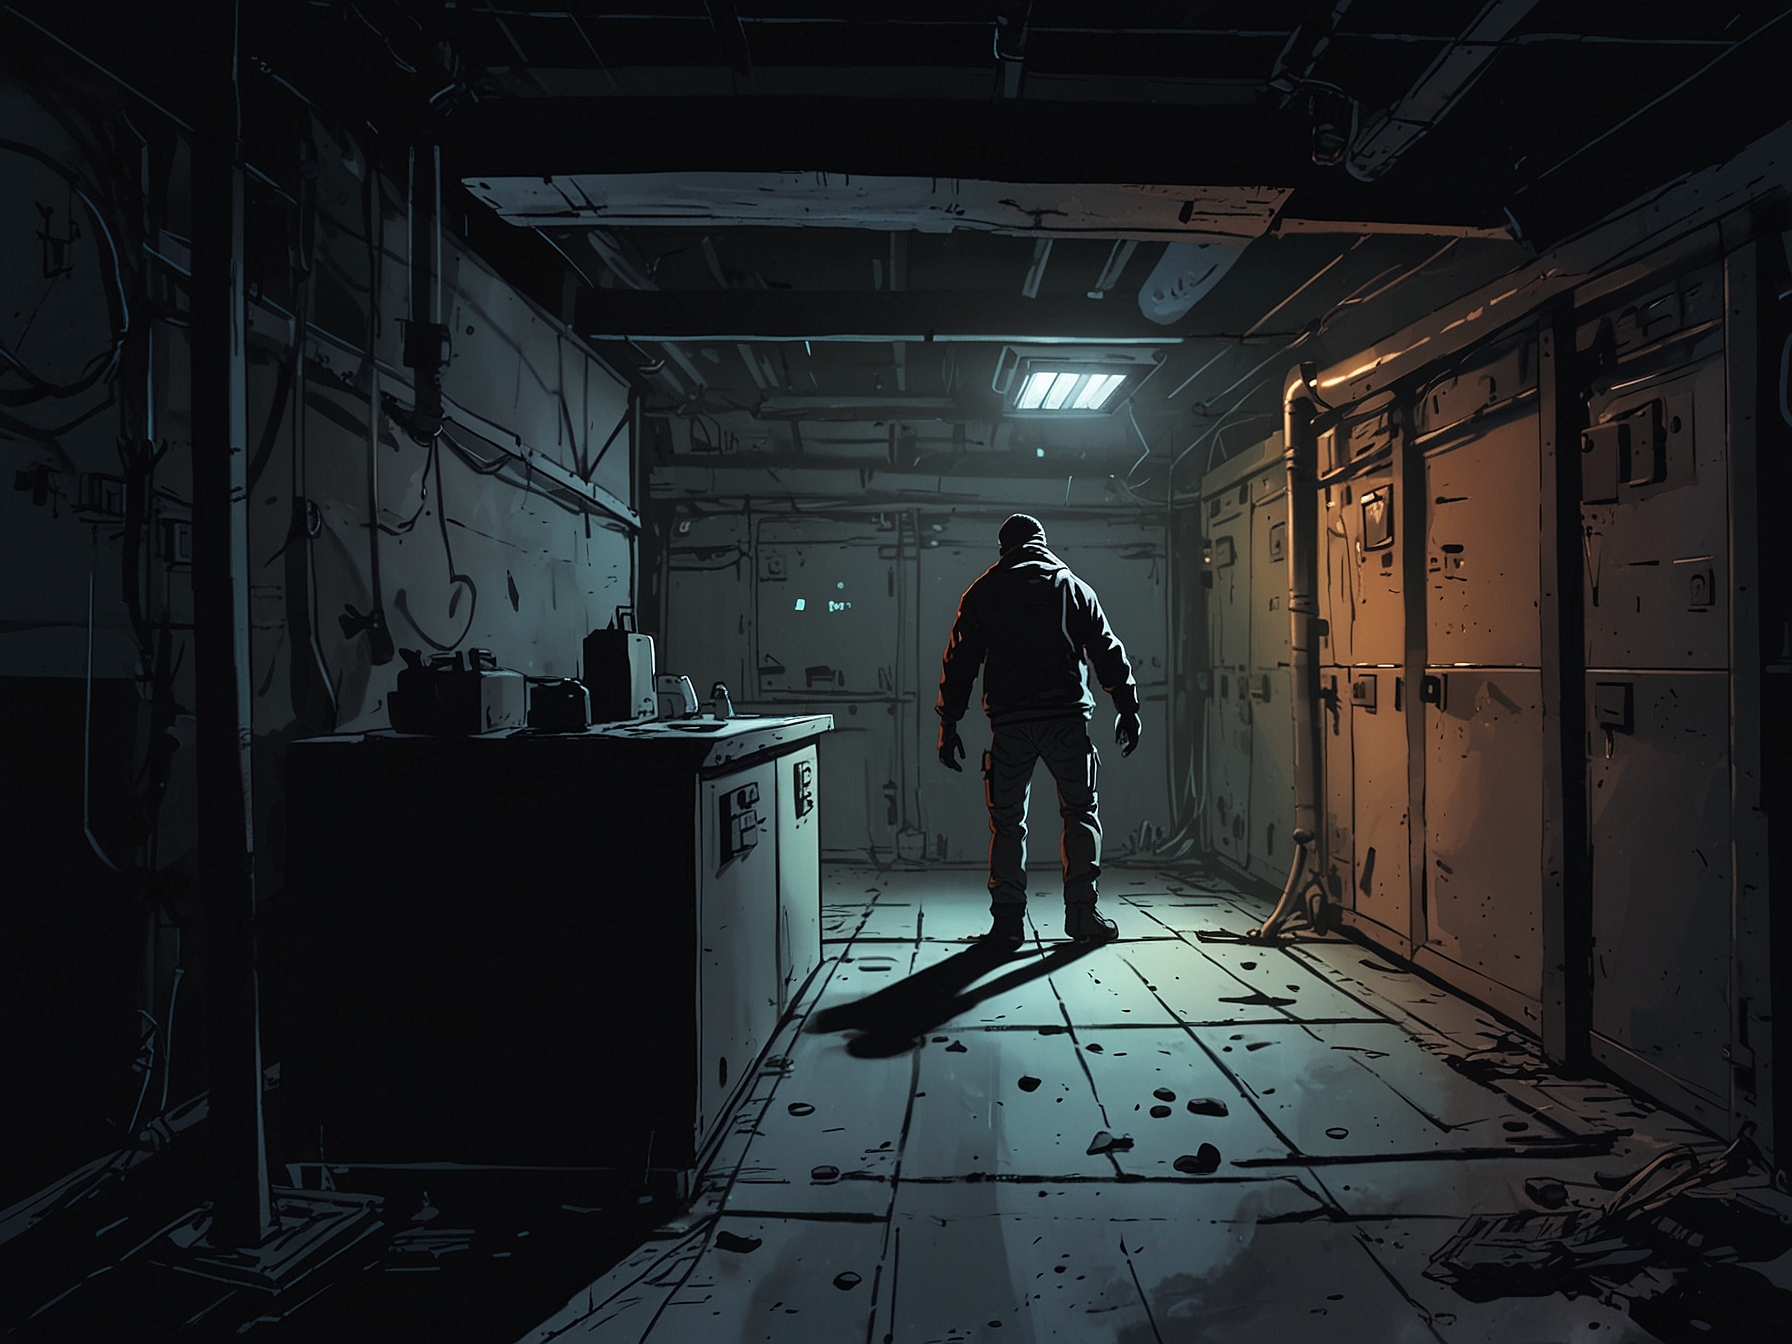
Addair is undeniably one of the most nerve-wracking adversaries you’ll confront in Still Wakes the Deep. His sudden appearances always seem to coincide with the moments when you’re most vulnerable, such as when you’re occupied resetting or repairing electrical equipment. The tension is palpable as you attempt to resolve mechanical issues, all the while knowing a cosmic entity could materialize and absorb you into its grotesque mass at any moment.
© FNEWS.AI – Images created and owned by Fnews.AI, any use beyond the permitted scope requires written consent from Fnews.AI
You first encounter Addair after narrowly escaping another peril, Rennick. The setting turns grim, with tight crawl spaces hinting at the dreadful ten minutes that lie ahead. Finlay initially directs you to a booth featuring a solitary switch. However, as expected, a single flip isn’t sufficient. You are then guided towards the generator room, a deceptively simple journey requiring you to turn off a couple of valves along the way. This is the exact moment Addair decides to make his grand entrance.
To successfully avoid and escape Addair to reset the protective relay, you’ll need to follow a series of calculated steps. As you arrive in the generator room, Caz will point out a hut situated on the opposite side—a location you need to reach. Addair exhibits patrolling behavior similar to another previous adversary, Muir. He responds to distractions, specifically when you throw objects. Unlike Trots, he directly heads to the distraction but returns to his patrol quickly, necessitating swift movement throughout this nail-biting encounter.

© FNEWS.AI – Images created and owned by Fnews.AI, any use beyond the permitted scope requires written consent from Fnews.AI
Your primary objective is to reach the hut without getting caught. Begin by descending the steps and entering one of the crawl spaces. These spaces are available on both sides of the room, allowing you to gradually make your way towards the hut. Employ a strategy where you alternately hide and move, throwing objects to divert Addair’s attention. For instance, from the right-hand crawl space, proceed up a bit and wait for Addair to move away. Next, advance to a central crawl space, then again use thrown objects to distract Addair, giving you the opportunity to progress.
The ultimate goal is to reach the central crawl space facing the left-hand exit, which features a ladder. Throwing an object to the back right side of the room (where you initially entered) should provide enough time to climb the ladder and enter the hut.
Inside the hut, a small puzzle awaits. You need to turn on switches in the correct order—1, 2, 3, 4, and 5. This sequence, however, isn’t immediately apparent as some of the numbers are obscured or missing. Here’s a guide: reference the department names above each switch. The correct sequence is: Engineering, Processing, Administration, Deck, and Accommodation. Once inside the hut, Addair typically leaves you alone, granting you time to solve the puzzle without interruption.
After aligning all the switches to green, your next task is restarting the generator. Locate the key in the cabinet—it’s essential for restarting the generator and leaving the hut. Use the inspection vent to exit the hut and proceed to the generator. Restart it using the key, but be prepared: Addair reappears swiftly. Quick hiding places are crucial to avoid a dire fate at this juncture.
Following the restart, your final mission involves resetting the protective relay once more. Navigate back through the mud handling area to the generator room. Ascend the stairs back to the entrance and utilize tight crawl spaces, employing object-throwing distractions to elude Addair’s pursuit. It’s a lengthy and nerve-racking journey back to the relay but achievable with a strategy of distraction and stealth.
The generator room presents the toughest challenge. Multiple obstacles force you into crawl spaces and alternative pathways, each one patrolled by Addair. Persistently use objects to distract him, navigating cautiously. The ideal approach is to throw objects towards the left side of the room while you progress right. The room you need to enter is situated on the right, marked by a low entrance. Approach quietly; if Addair chases you here, it’s game over.
Once inside this final room, a cutscene shows Addair violently beating against the glass, but he cannot breach it. Hit the switch to reset the protective relay, completing the main objective. Your next mission will take you into the rig’s legs, a place fraught with even more dark and ominous challenges. Each phase of this intense encounter tests your patience, strategy, and stealth, culminating in a highly satisfying progression in Still Wakes the Deep.
Was this content helpful to you?

